I've found that I have begun to enter into a new stage of life, where weddings and bridal showers are few and far between, and little ones dominate the scene.
It's an incredibly exciting time, one filled with fairytales and sweets and parenthood tips, joyful laughter and cute pictures and jubilant firsts.
While I still feel caught in the middle, somewhere between newlywed and baby bump, I can still fully appreciate both sides of the spectrum.
This past weekend we threw a baby shower for a really close friend of mine who is having her first baby girl!
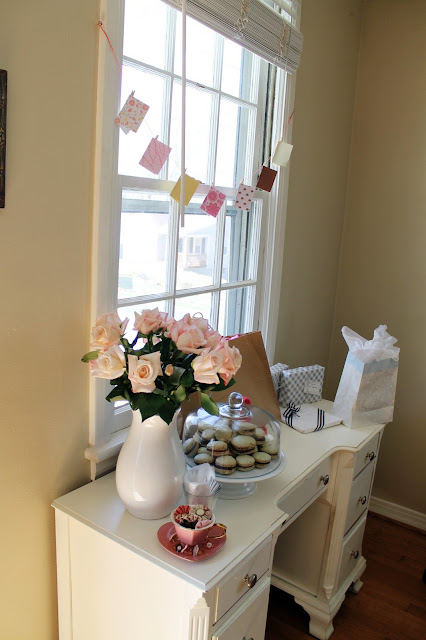
One of my favorite things that I got to make is a little storybook garland.
It turned out so cute, and was incredibly simple and cost effective.

Fashion and decor really do go hand in hand.
I find that the expressions of home and personal style often coincide, as they are both manifestations of personality and individual taste.
You really get a feel for a person when you enter into their home, just as you do by seeing how they dress and how they carry themselves. It's all wrapped into the network of style.

I love theme parties and showers, because you can take one specific idea or style and run with it!
This particular shower was girly, chic, and whimsical. Very bubbly!
For the book garland, all you'll need are:
1. Cute scrapbook paper, in the color scheme of your choice
2. Book pages (I printed out mini excerpts from Peter Pan)
3. Stapler
4. String/Yarn/Twine
5. Mini clothespins (can be found at Michael's!)
I found a page excerpt from Peter Pan from Google Images, and simply printed that 16 per page, so they were already the perfect size and ready to cut!
You could also use any old children's book (perhaps thrifted) or book pages and cut them to the desired size.
1. Cut two rectangles from your text, and fold each of them in half, to make four book pages. Then place them on top of one another, text-side up!
2. Cut out a rectangle from your scrapbook paper, just a tad bigger than your text. Fold it in half, then open it back up and place the four text pages inside, text-side up.
3. Close the book and staple the back twice (make sure the pages are up against the spine of the "book cover").
Voila!
Do as many mini storybooks as you desire, and hang them on a bright colored string or yarn with mini clothespins for the finished product.
I pinned them in the middle so they'd be open, and once they were hanging I went through and stretched them backward a bit to make sure they stayed open, and that the pages were splayed.
They turned out so cute!
Easy peasy, inexpensive, and oh so darling.


.jpg)


I still have this garland and I'm hoping to hang it in Brooklyn's room in a couple weeks!! =) =)
ReplyDelete